
Plan a warehouse shelving layout by recording the stock, measuring the usable area and reserving access and working space before calculating bay quantities. Give suppliers the same dimensioned plan and storage brief so their proposals can be compared.
An extra row is useful only if goods can still be received, replenished and picked. This guide focuses on manually loaded carton and parts shelving. Palletised goods handled by forklift need a separately specified racking layout and equipment clearances.
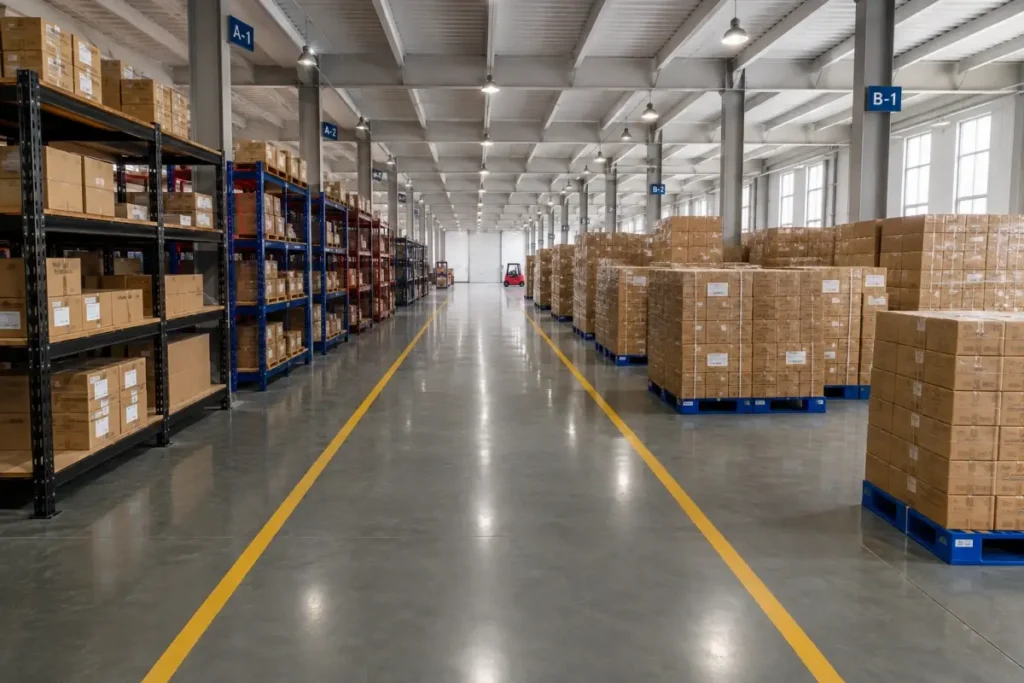
Define the Stock and Required Storage Capacity
Group the inventory by carton or bin size, weight, packaging format and picking frequency. Record normal and peak quantities for each group, together with the number of distinct stock-keeping units (SKUs) that need identifiable storage locations.
Frequently picked goods benefit from convenient access. Reserve stock can be positioned differently, but it still needs a workable replenishment and retrieval route. Long or irregular items should be identified before standard shelving rows are drawn.
Translate stock quantities into usable shelf positions. Check how many cartons fit in the intended orientation, whether each required item remains accessible and what their combined weight will be.
Hypothetical example: one carton group has a peak stock of 72 cartons. If a confirmed shelf arrangement holds six cartons in one accessible layer, that group needs 12 usable shelf levels. This does not establish the number of bays or whether they fit the building; level spacing, load limits and the floor layout still need checking.
Measure the Usable Storage Area
Warehouse floor area and available shelving space are different. Start with a dimensioned plan showing internal length and width, clear heights, doors and their opening areas, columns, stairs, fixed equipment and existing storage.
Mark the areas that must remain accessible, including exits, fire equipment, electrical equipment and building services. Have the site team confirm the relevant access and clearance requirements before placing shelving against walls or filling corners.
Measure the proposed storage runs and overhead restrictions at their actual locations. A floor plan should also record known floor or fixing restrictions. A photograph can explain an obstruction, but it cannot replace the dimensions or confirm floor load capacity.
A clear sketch is sufficient to begin a preliminary discussion. Use consistent units, label the measurements and distinguish measured dimensions from estimates.

Plan Access Before Filling the Floor with Shelving
Draw the main movement routes between receiving, storage, picking, packing and dispatch before filling the remaining space with shelving. Check replenishment as well as picking: a row can be convenient to pick from but difficult to restock.
Match Each Aisle to Its Task
A main travel route and access between hand-picking shelves do different jobs. Identify who uses each route, the goods they carry, whether movement is one-way or two-way, and where people or equipment must turn.
There is no single aisle width suitable for every warehouse. Confirm the handling method, equipment model, loaded dimensions, turning requirements and site conditions. For powered trucks, obtain the applicable operating clearances from the equipment supplier rather than copying a width from another layout. Toyota Material Handling Europe
Measure clear space between the nearest obstructions, including guards or projecting loads. Where pedestrians and vehicles operate, plan their separation and crossing arrangements with the site team. A pallet truck delivering cartons to a row end does not make the shelving suitable for forklift-placed pallets.
For UK operations, HSE’s warehousing guidance explains the importance of suitable traffic routes and separating pedestrians from vehicles. Check the requirements applicable to the installation country.
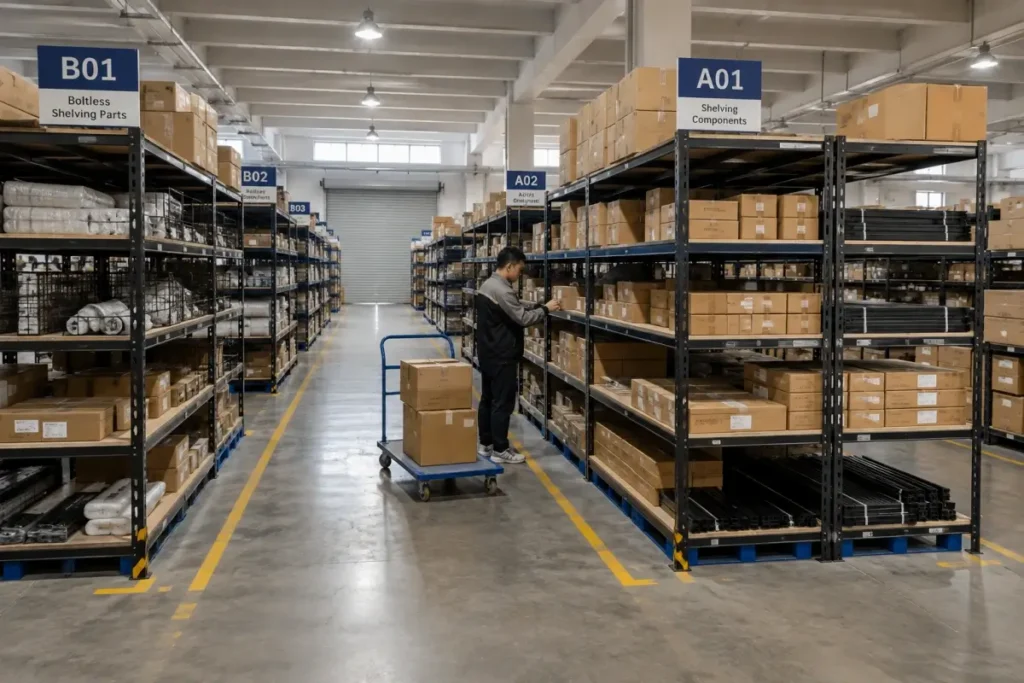
Match Shelving Dimensions to the Stored Goods
Check Usable Shelf Dimensions
Choose shelf depth and width from the cartons, bins and picking method. Excess depth can hide stock behind the picking face; insufficient depth can leave goods projecting beyond the intended storage area. Different product groups may justify different shelf depths.
Distinguish usable shelf dimensions from external bay dimensions. For the floor plan, request the complete footprint and assembled run length, including the relevant frames, feet, protection and any specified gaps. Do not calculate a run solely by multiplying a nominal shelf width by the bay count.
Allow Working Clearance Between Levels
Set clear openings from the stored-product height and the space needed to place and remove goods. Beam and panel depth also occupy vertical space. More levels provide useful capacity only when staff can use them with the planned handling method.
Specify the Load with the Configuration
Provide the required stored load per complete level and the heaviest individual item. State whether the load is uniformly distributed or concentrated. Confirm the level rating and total bay limit for the chosen dimensions, components and shelf positions.
Compare boltless shelving options for manually handled cartons and parts. If the project includes other handling methods or palletised stock, review the warehouse storage systems and specify each zone separately.
Use Different Zones When One Shelving Type Is Not Enough
Group activities that need different access or storage arrangements. Useful zones may include:
- Picking: accessible positions for frequently handled cartons, bins and parts.
- Reserve storage: stock held for replenishment, with a defined route to the picking area.
- Irregular goods: long, bulky or unusually shaped items needing a suitable storage arrangement.
- Working space: receiving, checking, packing, returns and temporary staging.
Size these areas for the expected workload, including busy periods. Identify where incoming goods, picked orders and empty packaging will wait. Temporary stock should have a designated location rather than relying on circulation space becoming available.
Use the welded wire shelving specifications when planning a hand-picking zone and the selective pallet racking specifications for reserve stock kept on pallets. Record the required shelf or beam levels and handling clearances for each zone.
Plan for Inventory Changes, Not Only Today’s Stock
Keep future growth separate from the normal peak-stock requirement. Record the capacity needed now and the expansion being considered, rather than quoting only for today’s lowest stock level.
Identify possible extension areas and the access they will need. Future bays should not depend on closing an exit route or removing working space that the operation still needs.
Where a system uses starter and add-on bays, confirm the compatible parts and assembled run dimensions with the supplier. Adjustable shelf positions can accommodate changes in stock height, but a revised arrangement must remain within the system’s approved loading and assembly conditions.
Prepare a Warehouse Shelving Layout Brief
Combine the site plan and stock information into one brief. The following record gives suppliers a common starting point without requiring a finished engineering drawing.
| Planning Item | Information to Provide |
|---|---|
| Site plan | Internal dimensions, clear heights, doors, columns, fixed equipment and measured storage runs. |
| Inventory profile | Product groups, carton or bin dimensions, orientation, item weights and picking frequency. |
| Required capacity | Number of SKUs or separate locations; normal peak stock and future expansion shown separately. |
| Handling method | Manual picking, trolleys or powered equipment; equipment model, loaded dimensions and clearance requirements where relevant. |
| Operating zones | Receiving, picking, reserve storage, packing, returns, staging and their access routes. |
| Shelving configuration | Usable shelf dimensions, clear level openings, number of levels, target load per level and any concentrated loads. |
| Quantity basis | Proposed bays, runs and usable shelf positions, with starter/add-on quantities identified where applicable. |
| Site constraints | Confirmed access restrictions, service clearances, floor conditions and fixing limitations. |
| Drawing and assumptions | Plan revision and date; confirmed requirements, estimates, exclusions and requested alternatives. |
If details are undecided, identify them as assumptions or items for review. Ask the supplier to state what its quotation includes and to show any alternative layout separately. Keep the quotation and proposed layout linked to the same drawing revision.
Check the Layout Before Comparing Supplier Prices
Different bay quantities do not automatically mean that one supplier has used the space better. A proposal may contain more shelves but provide less accessible storage, narrower routes or insufficient staging space.
Compare the same stock profile, usable site area, handling method and required access. Check the resulting storage positions and load basis, not just the rack count. Different shelf sizes can be valid alternatives if they meet the same operating requirements and their trade-offs are explained.
Review the plan with the people responsible for site operations and installation before committing to quantities. A supplier’s preliminary layout is a quotation basis; it does not replace verification of the building, floor, fire arrangements or local requirements.

Frequently Asked Questions
Can I Request a Quote Without a CAD Drawing?
A clear dimensioned sketch can support a preliminary quotation. Mark doors, columns, restricted areas and the proposed storage boundary, and attach photographs where they explain site conditions. Final design and installation information may require further detail.
How Wide Should Warehouse Shelving Aisles Be?
The width depends on the task, people, equipment and goods using the aisle, together with site requirements. Provide the actual handling method and loaded dimensions. For powered equipment, confirm turning and operating clearances for the specific model and load.
Should I Fix the Rack Quantity Before Contacting a Supplier?
A rough quantity can help, but identify it as provisional. The final quantity should follow the required usable capacity and a checked layout. Ask the supplier to distinguish your requested quantity from any alternative it proposes.
Discuss Your Warehouse Shelving Layout
Send QDDOWELL your dimensioned sketch, stock profile and handling requirements. Include the capacity needed and destination country. If bay sizes or quantities remain undecided, identify them as items for review so the proposed configuration and quotation have a clear basis.